
Confirmation locks in the expense data you reviewed. Until you confirm, expenses in Needs review stay out of confirmed reporting totals — see how to review AI results and how to filter expenses by status.
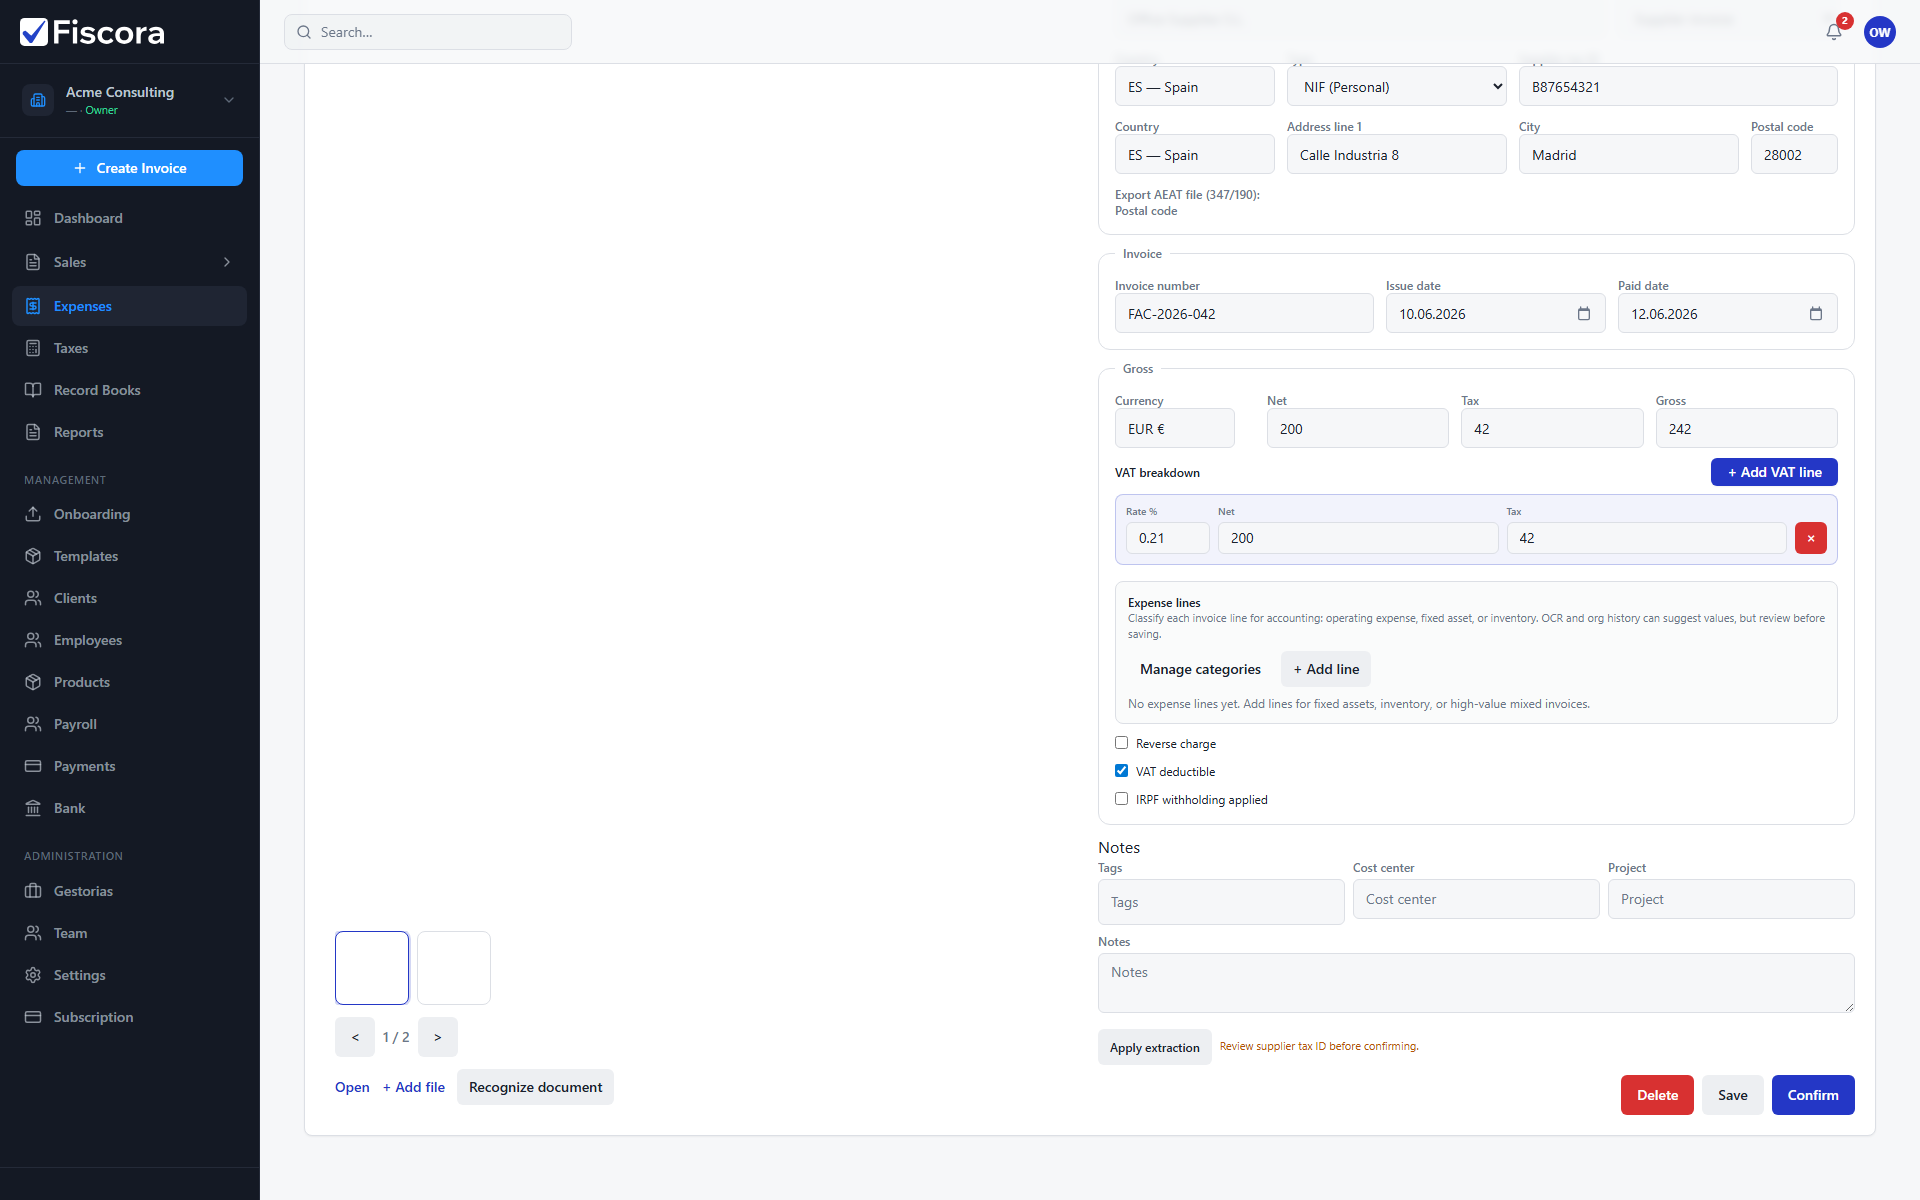
Before you confirm
- Open the expense from Expenses or filter the list to Needs review — see how to upload a receipt or bill if you have not uploaded yet.
- Verify supplier name, tax ID, invoice number, dates, and amounts.
- Review VAT breakdown and line items when they are shown.
- Fix any incorrect fields and save if you are not ready to confirm yet.
Confirm the expense
- Select Confirm when the data matches the supporting document.
- If Fiscora detects a possible duplicate, review the warning before continuing.
- After confirmation, the expense moves to confirmed status and appears in reporting views.
After confirmation
- Confirmed expenses are included in exports and summary totals.
- You can still open the expense later to review what was recorded.
- If extraction failed entirely, enter details manually and confirm when complete.